AT A GLANCE
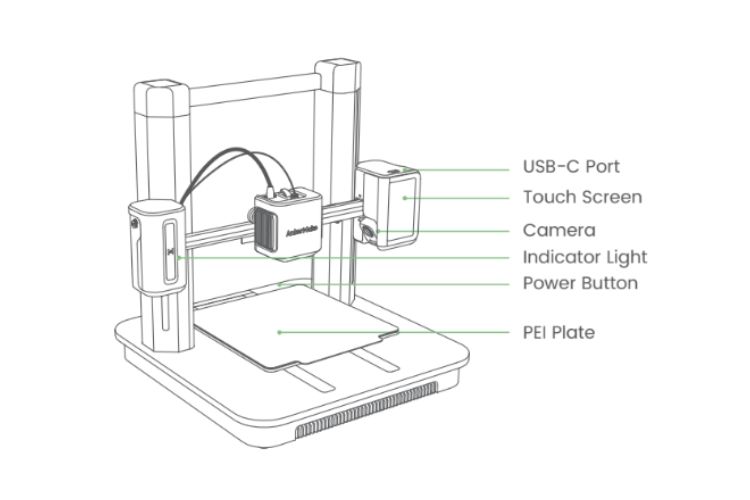
| Indicator Light* | Description |
| Flashing Orange Slowly | Heating up |
| Fading Green Repeatedly | Printing |
| Flashing Red | An alarm is going off |
ASSEMBLING THE PRINTER
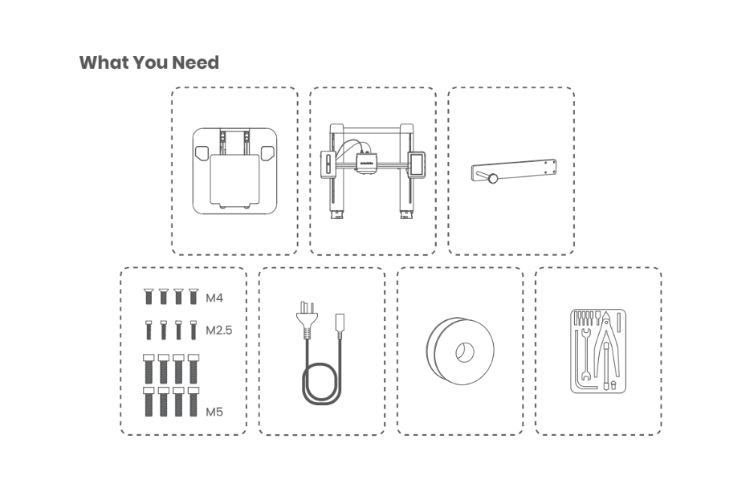
Step 1. Installing Gantry Frame
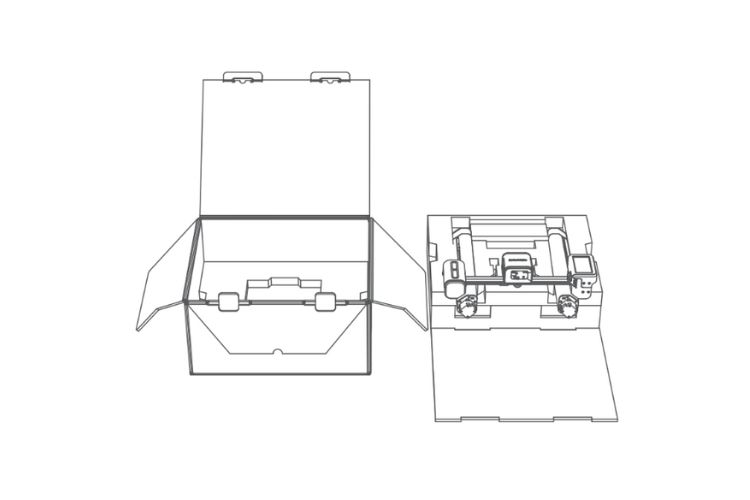
1. Open the box, then place the foam cover on the ground.
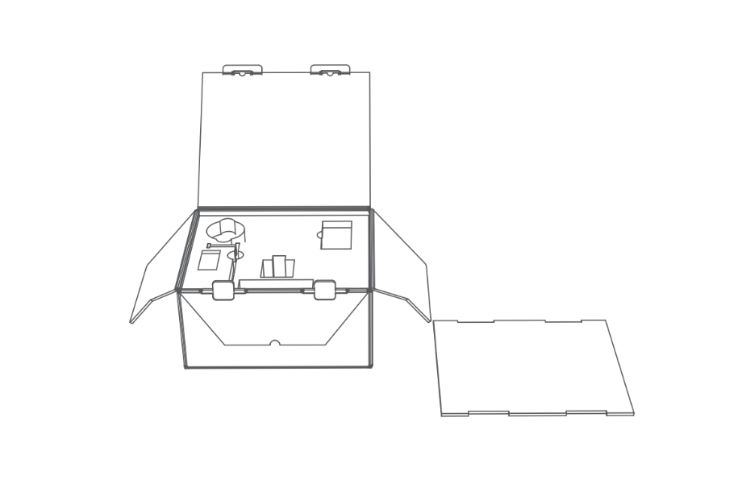
2. Take out all the accessories in the foam, then place the protection foam on the ground as support.
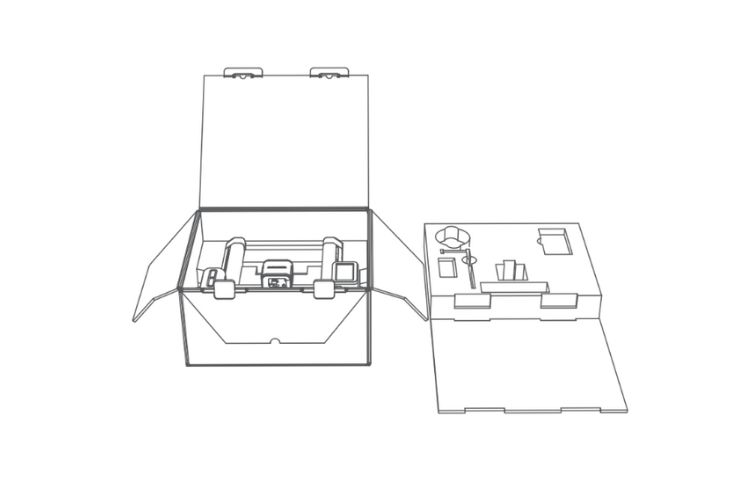
3. Take out the gantry frame with its protection foam and place it on the support foam.
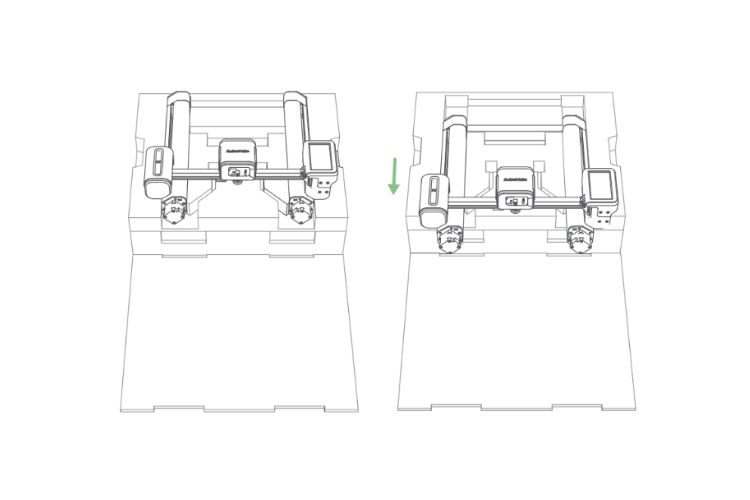
4. Take the gantry frame out of the packaging foam, then put it back as shown below.
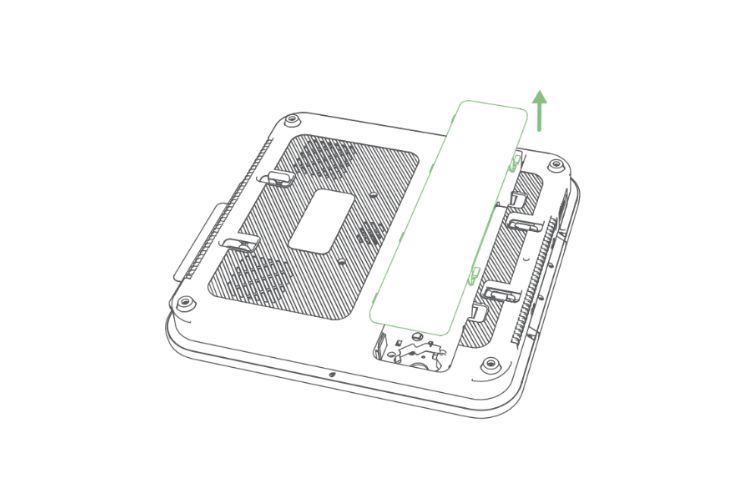
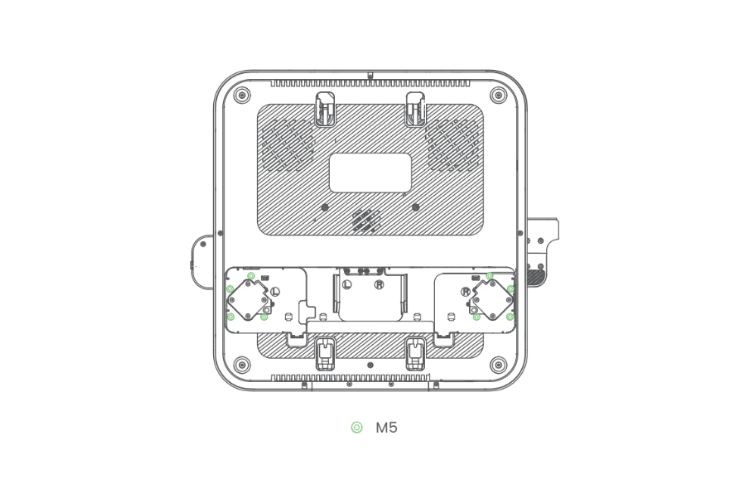
5. Detach the bottom cover from the platform.
6. Mount the platform through the holes.
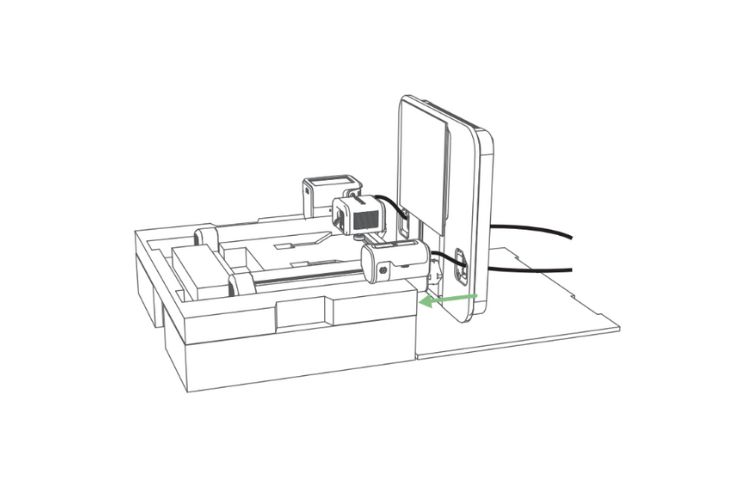
7. Fasten screws into the platform.
Step 2. Wiring
1. Connect the motor wires.
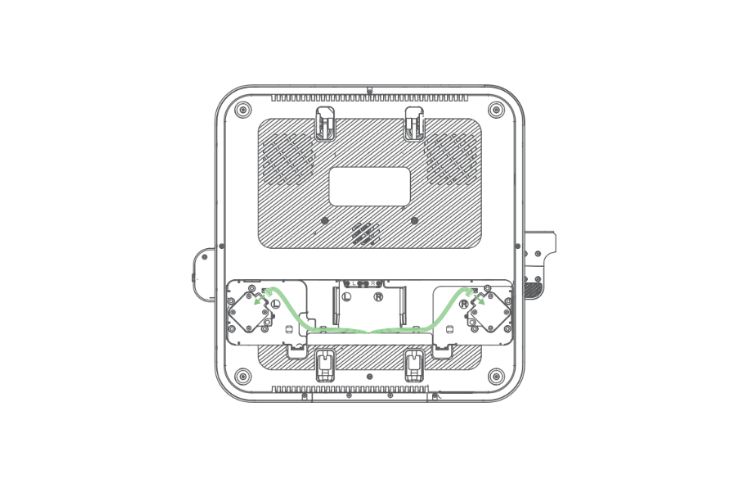
2. Connect and fix the USB-C cables with screws.
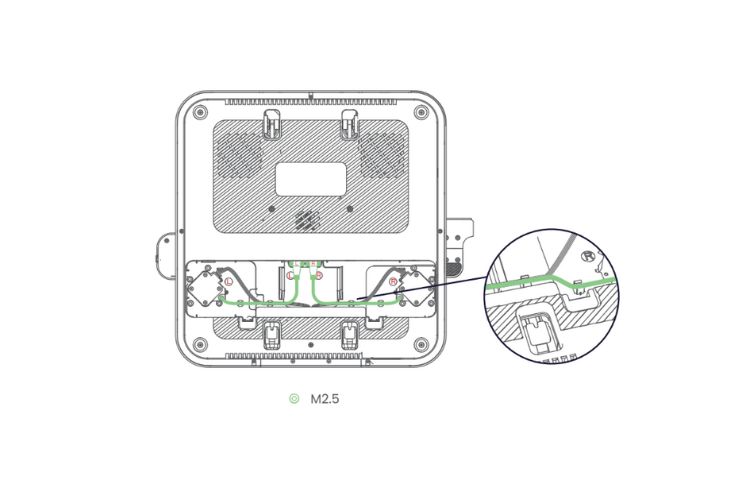
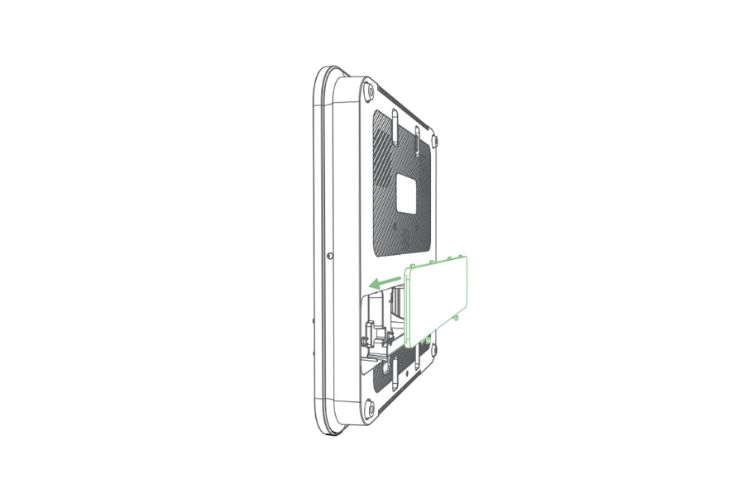
3. Put the bottom cover back onto the platform.
Step 3. Installing Filament Holder
Secure the filament holder with screws.
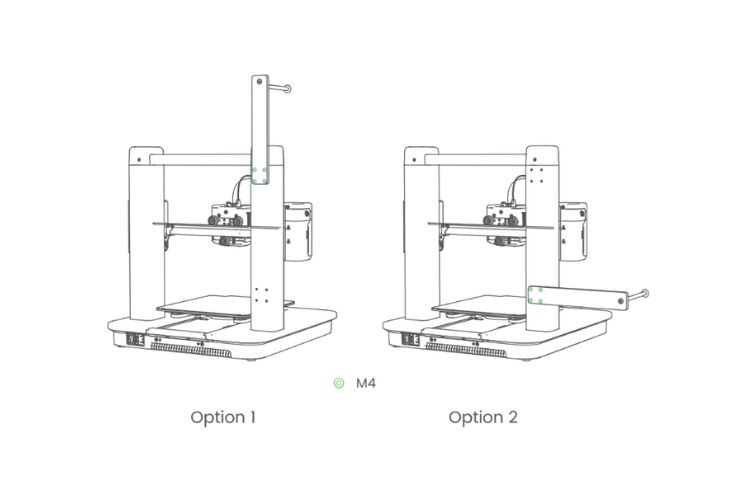
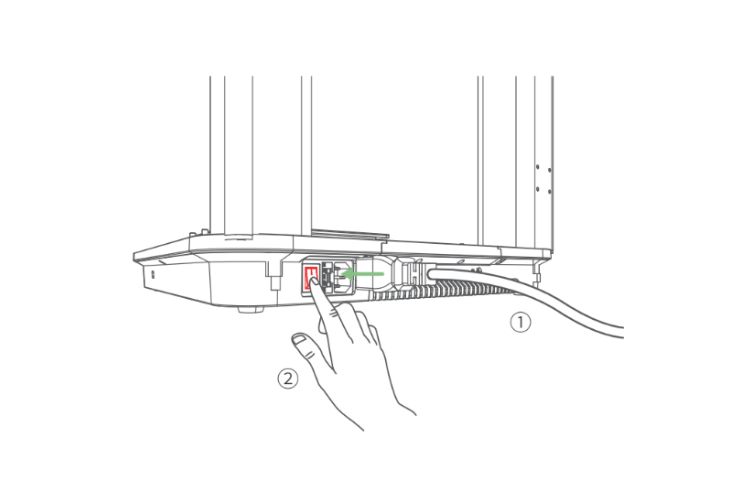
Step 4. Connecting to Power
1. Connect the printer to a power outlet with the power cable, then power on the printer.
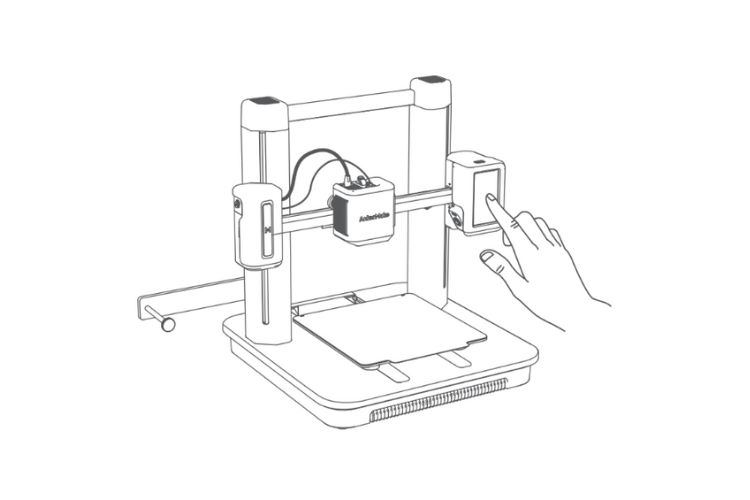
2. Follow instructions on the touch screen to complete the initial setup.
SETTING UP THE SYSTEM
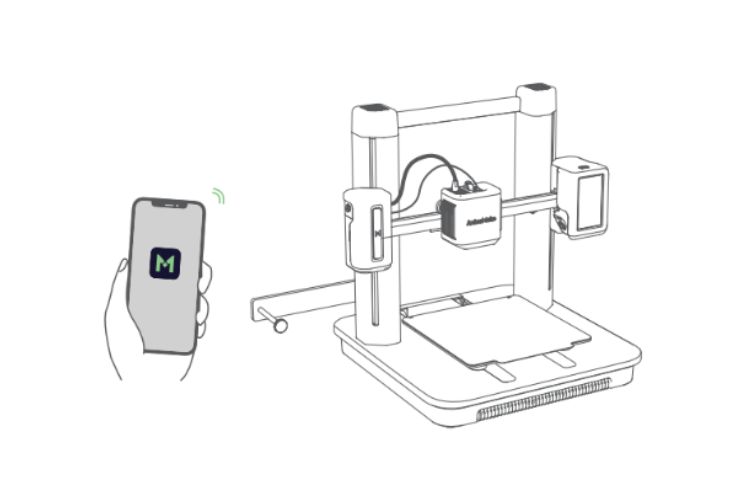
1. Download and install the AnkerMake app, then sign up for an account.
2. Follow on-screen instructions to add the printer to your device list and connect it to Wi-Fi.
LEVELING HEAT BED
On the touch screen, go to Control > Auto-Level to level the heat bed.
LOADING FILAMENT
1. Place the filament onto the holder.
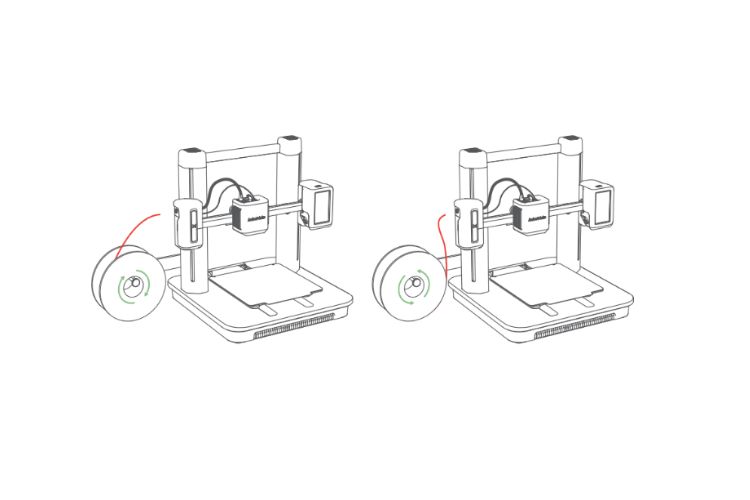
2. Cut the tip of the filament at a 45° angle.
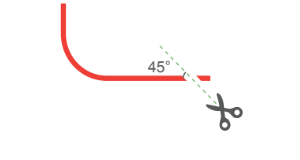
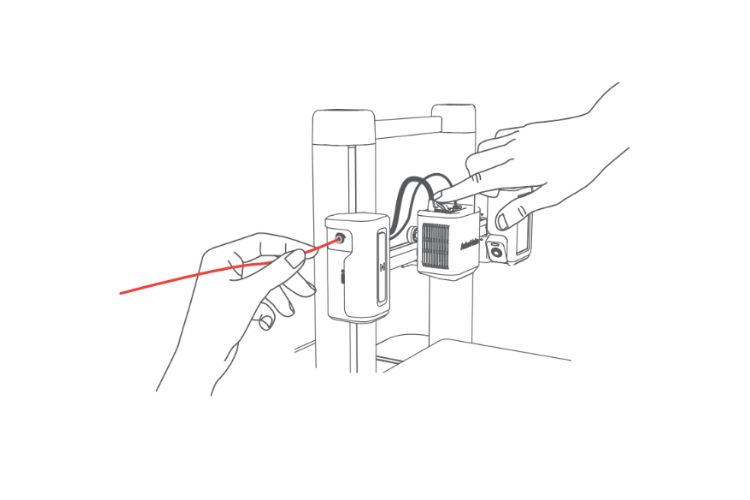
3. Insert the filament until it reaches the extruder. Then press and hold the button on top of the extruder while continuing to insert the filament. Stop when you feel some resistance.
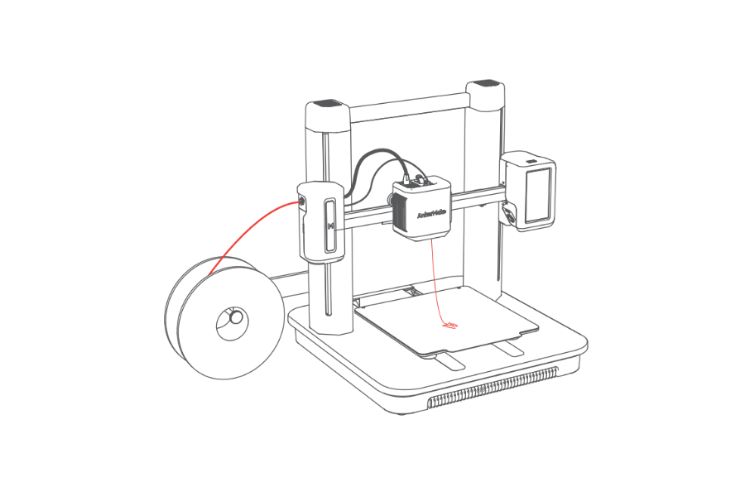
4. On the touch screen, tap Load on Control > Extrude.
Wait until filament flows out of the nozzle, then tap Stop.
INSTALLING ANKERMAKE SLICER
For the best printing experience, download and install AnkerMake Slicer to your computer from ankermake.com/software.
The AI recognition capabilities will be not available when the printer works with other 3D slicer software, such as Cura and Simplify3D.

